In
this post you will learn how to write your first Java Program.
First
of all, you need the Java Development Kit (JDK) and an Integrated Development
Environments (IDE) to write and run the code. We are going to use the NetBeans
IDE. You can download them here:
You
can also download both JDK + NetBeans together here:
Well,
it’s time to begin with your first Java code. Your first program will print “Hello
World!!!”.
All
you need to do is to follow the steps:
Step 1:
Launch
the NetBeans IDE
You
can do it by clicking on the Start Menu item or you can double-click on the
NetBeans Icon in the Desktop.

This
will open the NetBeans IDE.

Step 2:
choose
File -> New Project

Or click
on the New ProJect icon:
This
will open the Project Wizard:

Step 3:
Select
Java and Java Application and click on the Next button

This
will open the Name and Location page.
Step 4:
In
the Project Name Field type: HelloWorld
You
can click on Browse if you want to change the default project location.
Leave
the Create Main Class and Set as Main Project checkboxes selected.
Click on the Finish button.

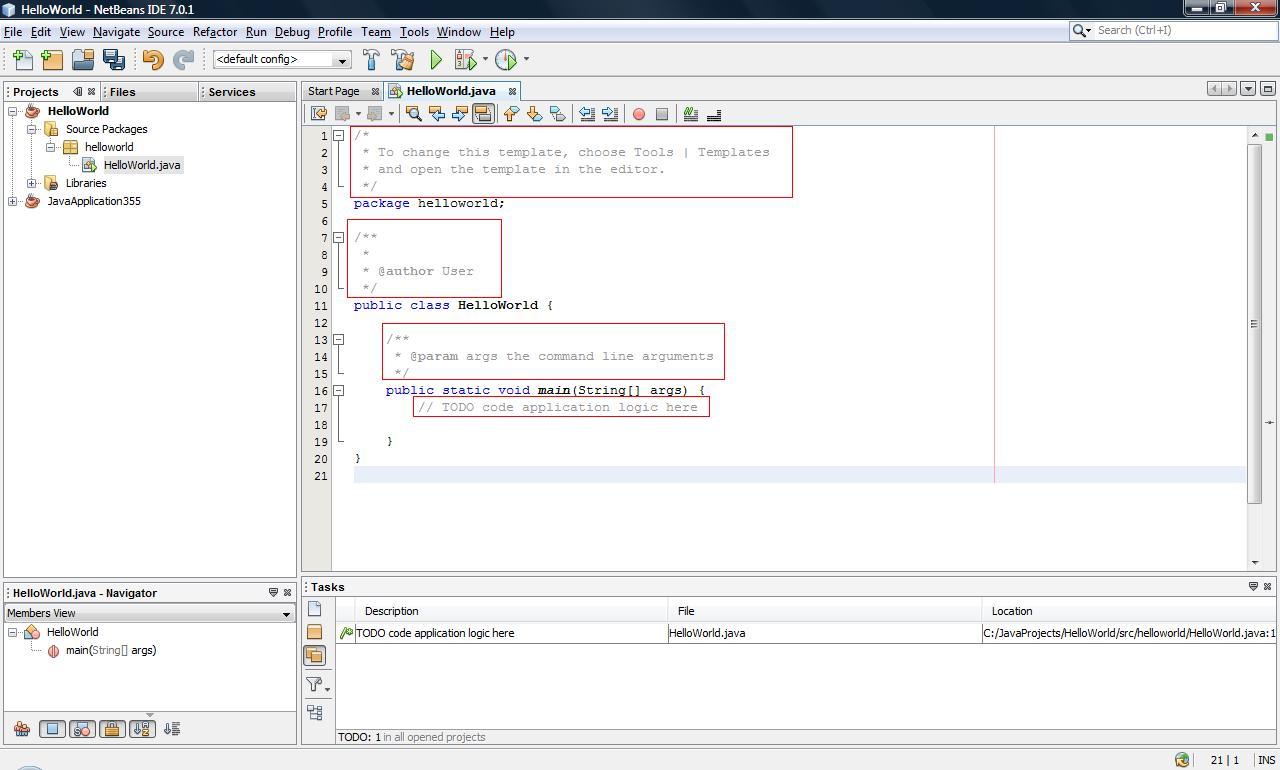
The
new project has been created. You can see it in the NetBeans Project Window:
Don’t
worry if you don’t understand all the code in the HelloWorld.java file. Most of
the code are comments and soon you will be able to understand the rest of the
code.
Comments
in the java code
Step 5:
Add
this line to the code:
System.out.println("Hello
World!!!");
If you make a mistake, i.e., you don’t write the
semicolon at the end of the statement, a red icon will appear:

If you put the mouse pointer on it, a related error
message will appear:

Step 6:
Run the project.
You have several ways to
Run a NetBeans Project:
1. Choose Run -> Run
Project from the NetBeans menu bar.
2. Press the F6 key
3. Right-click over the
project name and choose Run
4. Click on the Run icon

We can see the output of our program in the IDE Output window:

No comments :
Post a Comment